
Get Free Samples
‹
 TYPE and/or DUCT TYPE FANS")
 TYPE and/or DUCT TYPE FANS")
›
 TYPE and/or DUCT TYPE FANS")
CASING (BOX) TYPE and/or DUCT TYPE FANS
High-performance casing (box) type and duct type exhaust fans for loading washroom, waste pump room, staff restroom, toilet and mechanical room. Stable airflow, designed for indoor ducted ventilation systems.
Email:zkeruiteair@gmail.com
WhatsApp:+8613105346663
product description
Product Introduction
We provide reliable casing (box) type fans and duct type fans for building ventilation and indoor exhaust applications.These fans feature compact structure, stable operation, low noise, and easy installation, suitable for concealed or ducted ventilation systems.They efficiently remove odors, moisture, stale air and heat from utility rooms, ensuring a comfortable and safe indoor environment.
Typical Applications
- Loading Washroom
- Waste Pump Room
- Staff Restroom
- Public Toilet
- Mechanical / Equipment Room
- Commercial building utility areas
- Indoor ducted ventilation systems
Fan Selection Table (Casing / Duct Type)
Key Features
- Available in casing (box) type and duct type
- Compact design for indoor and ducted installation
- Stable performance under designed external pressure loss
- Low vibration, low noise operation
- Robust motor for continuous duty
- Suitable for long-term ventilation in service rooms
If you need a shorter version for Google Ads or product cards, I can make it more concise directly.
1. Ceiling Hanging Installation (Common for Indoor Ducts, Toilets & Equipment Rooms)
- Choose a stable ceiling position that can bear the weight of the fan, avoiding weak structural parts (e.g., ceiling keels with insufficient load-bearing capacity).
- Install the hanging bracket firmly on the ceiling using expansion bolts, ensuring the bracket is level and stable without looseness.
- Connect the fan to the hanging bracket with anti-vibration hooks or straps to reduce noise and vibration during operation.
- Align the fan’s air inlet and outlet with the pre-installed rectangular ducts, and use flexible connectors to connect them tightly to prevent air leakage.
- Check that the fan is hanging horizontally, with no tilting, and ensure there is enough space around the fan for maintenance.
2. Horizontal Duct Connection Installation (With Flexible Connector + Bracket)
- Install the fan bracket on a flat wall or equipment platform, ensuring the bracket is fixed firmly with bolts to avoid displacement during operation.
- Place the rectangular duct fan on the bracket and fix it with screws, ensuring the fan is level and stable.
- Use a flexible connector (e.g., canvas or rubber connector) to connect the fan’s inlet/outlet to the horizontal duct. The connector should be tight and not stretched excessively to prevent air leakage and reduce vibration transmission.
- Adjust the position of the fan and duct to ensure smooth air flow, without any obstruction at the connection.
3. Installation Structure Diagram (Hanging + Vibration Reduction + Duct Connection)
- Vibration Reduction: Use anti-vibration pads between the fan and bracket, and anti-vibration hooks for hanging installation, to minimize noise and vibration transmitted to the building structure.
- Duct Connection: Ensure the rectangular duct is aligned with the fan’s inlet/outlet, and seal the connection with sealant or tape to prevent air leakage, which may affect ventilation efficiency.
- Wiring: Connect the fan to the power supply according to the wiring diagram, ensuring correct connection of live, neutral and ground wires. It is recommended to install a switch and overload protection device for safe use.
- Post-Installation Check: After installation, turn on the fan to check for abnormal noise, vibration or air leakage. Adjust and fix any problems in time.
Note: Professional installation by qualified technicians is recommended. Before installation, check the fan model, airflow and static pressure parameters to ensure they match the actual ventilation requirements. Regular maintenance is required after installation to ensure long-term stable operation.
Product Display
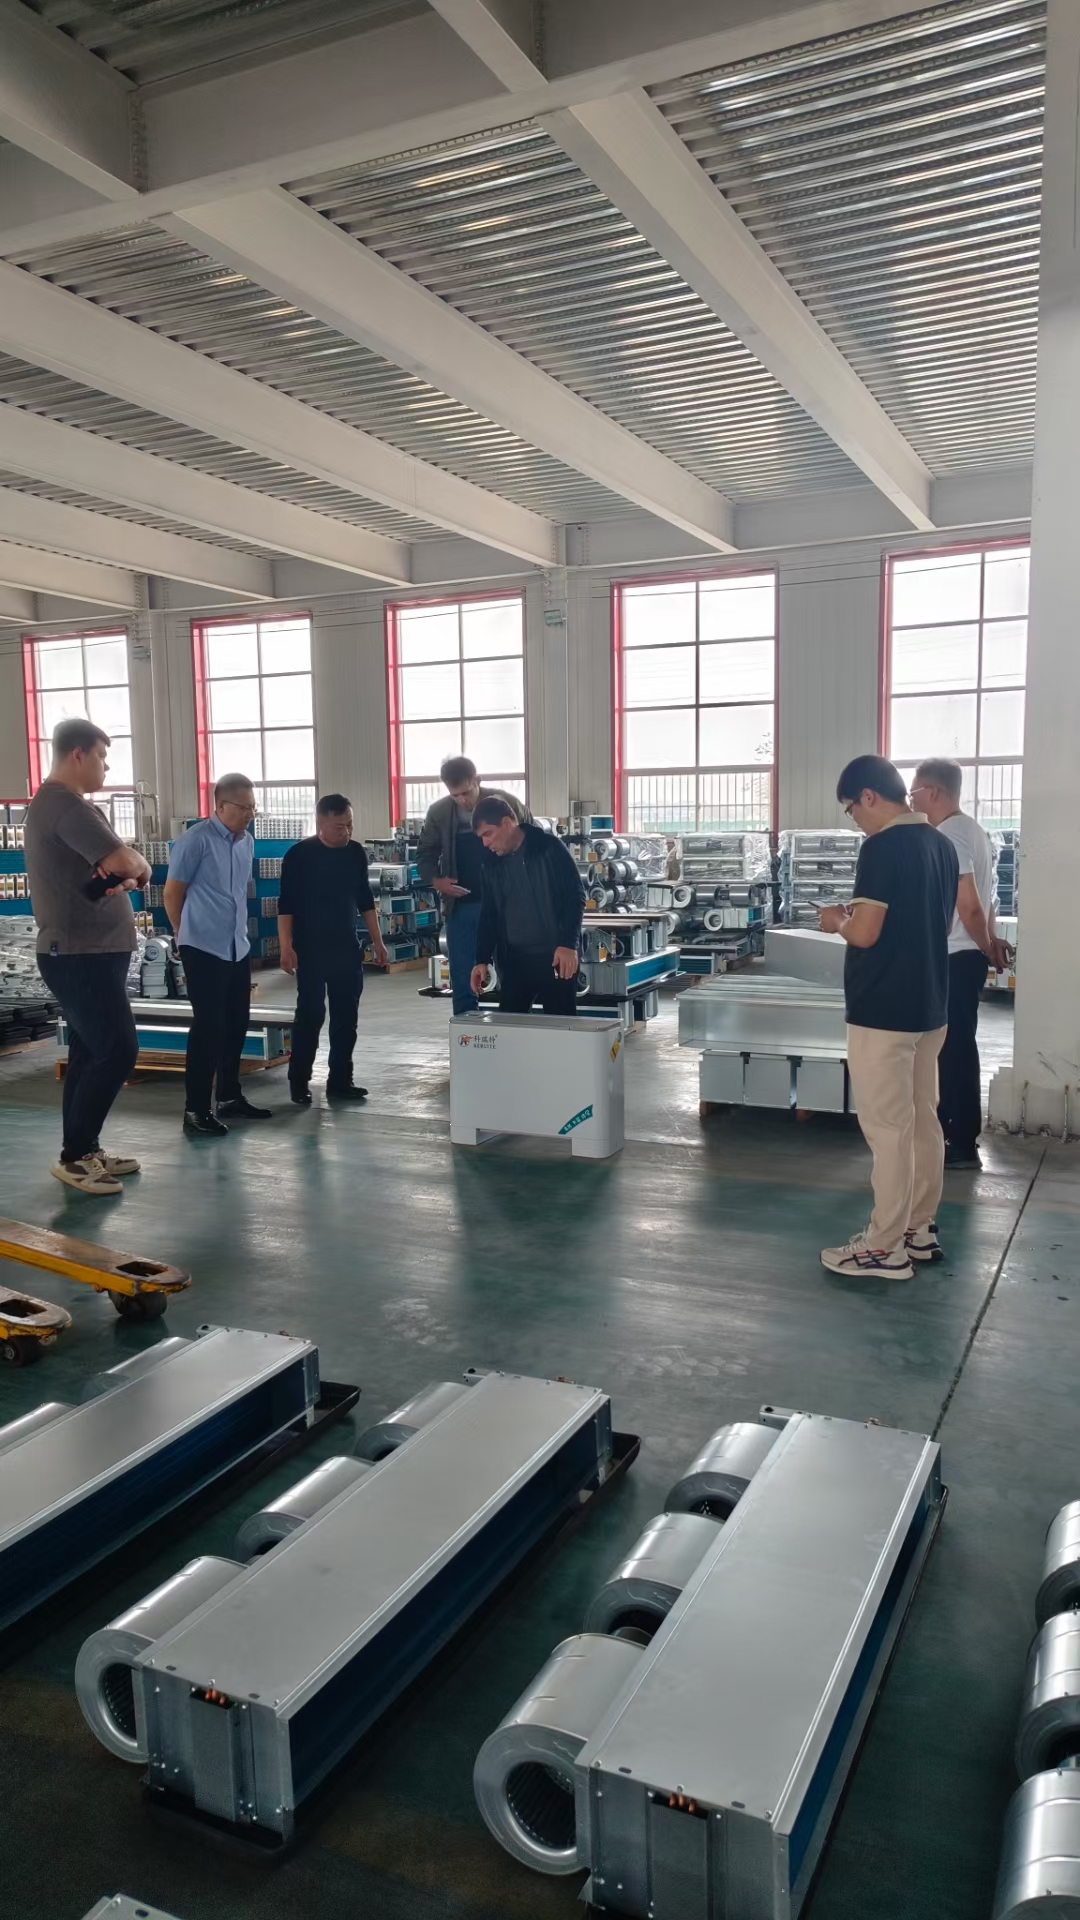
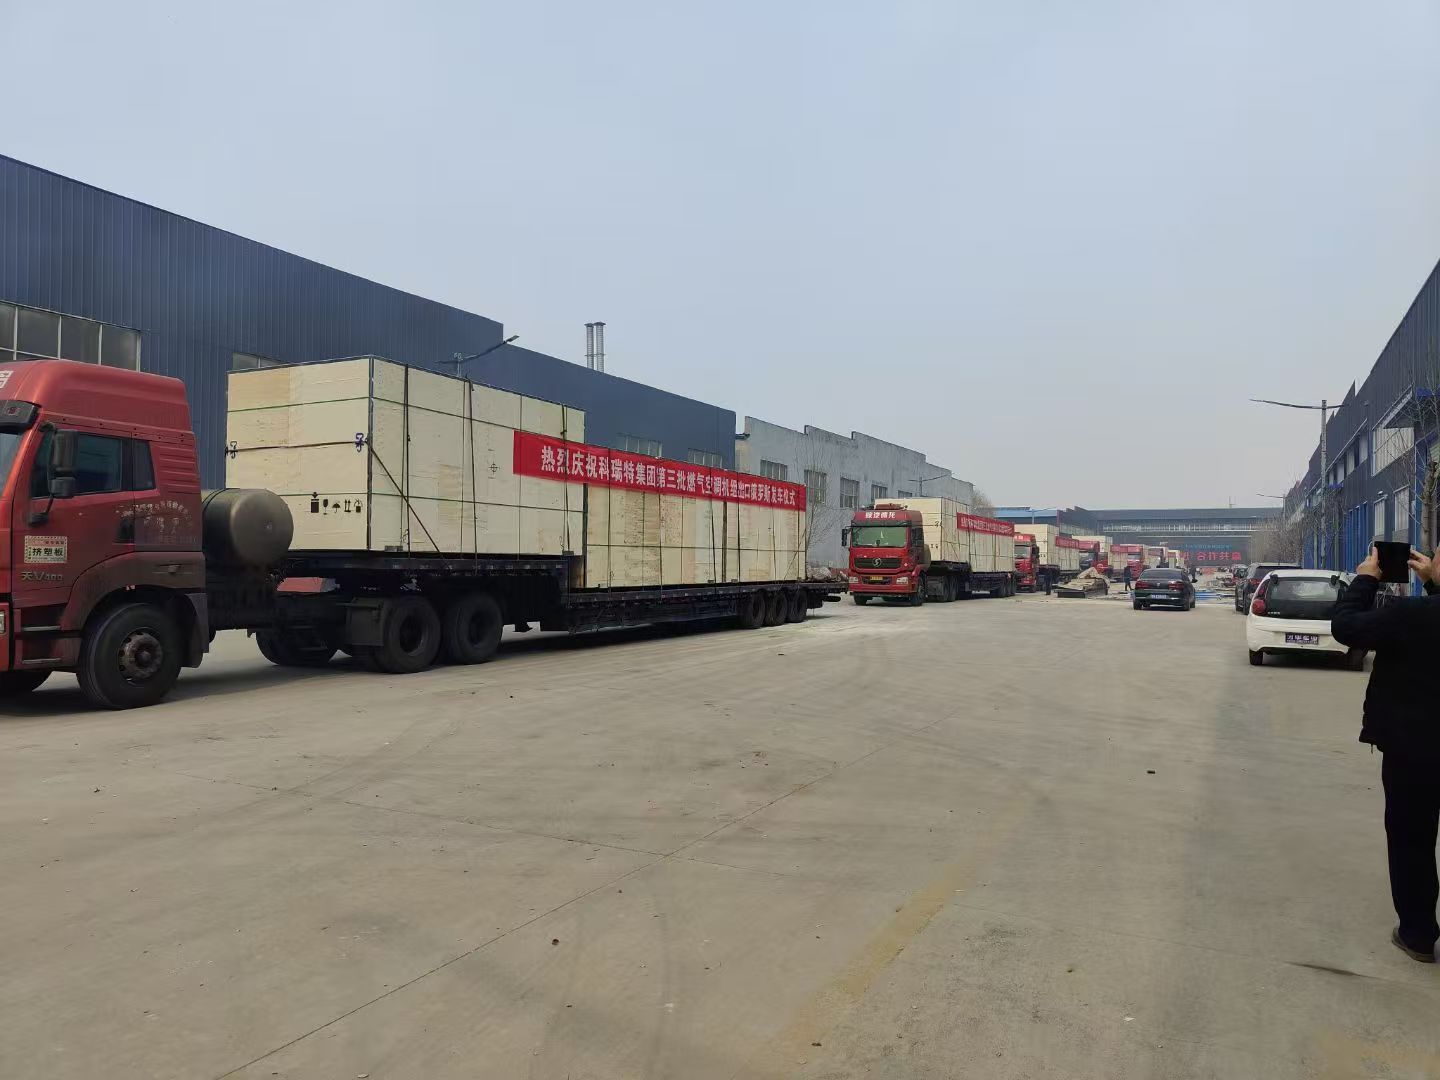
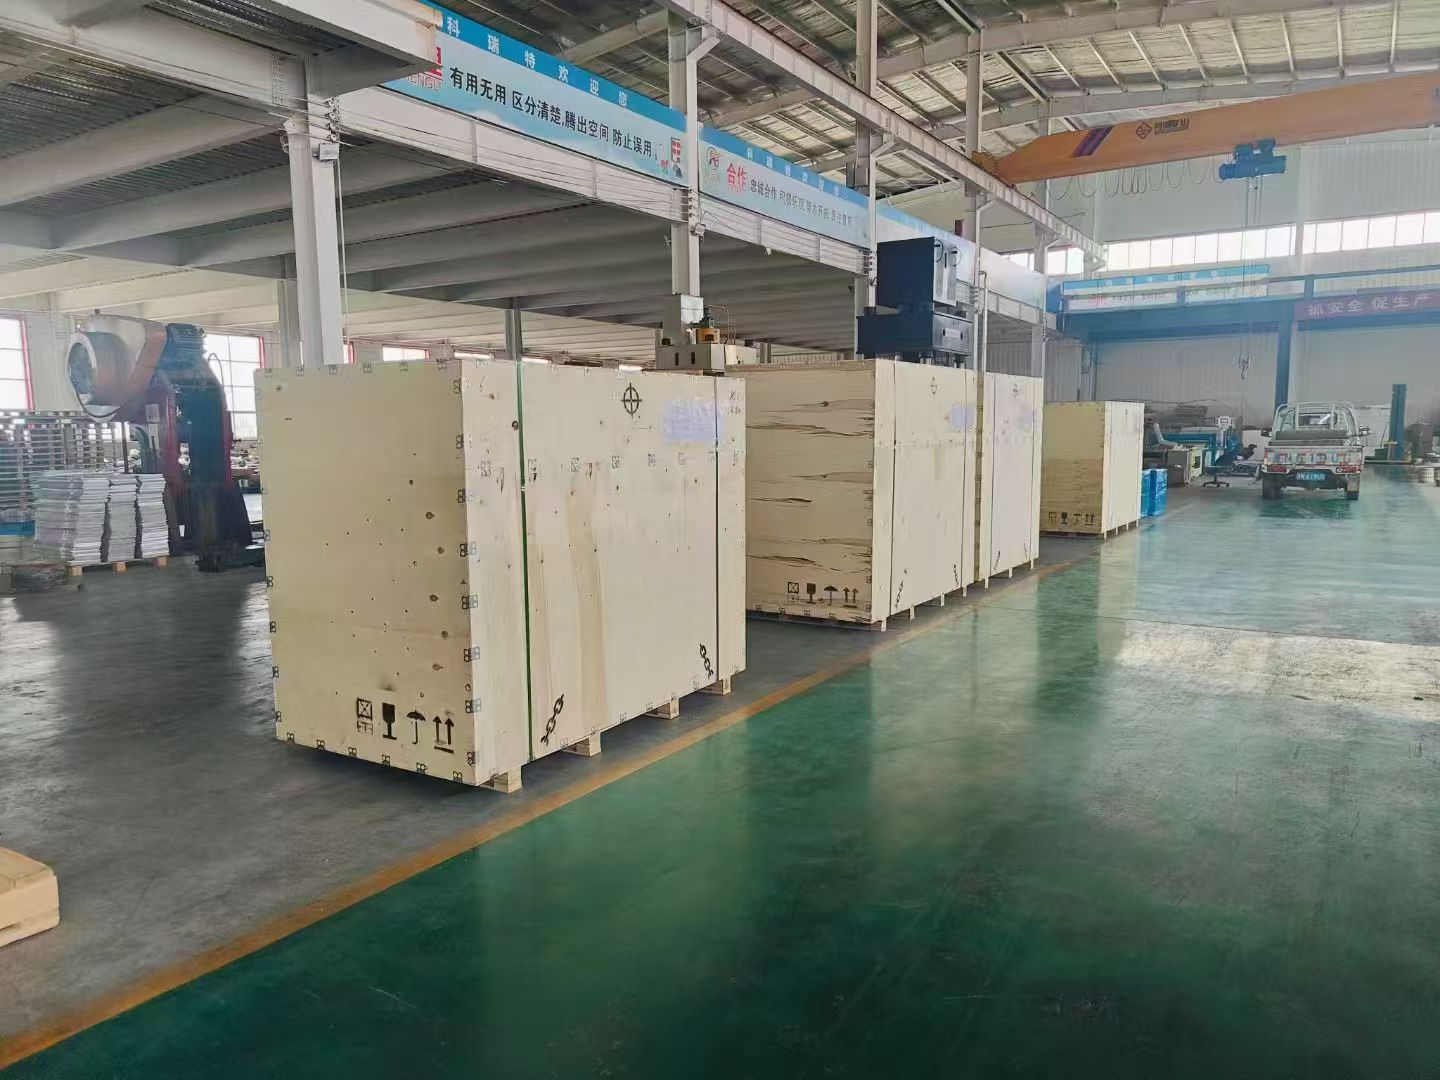
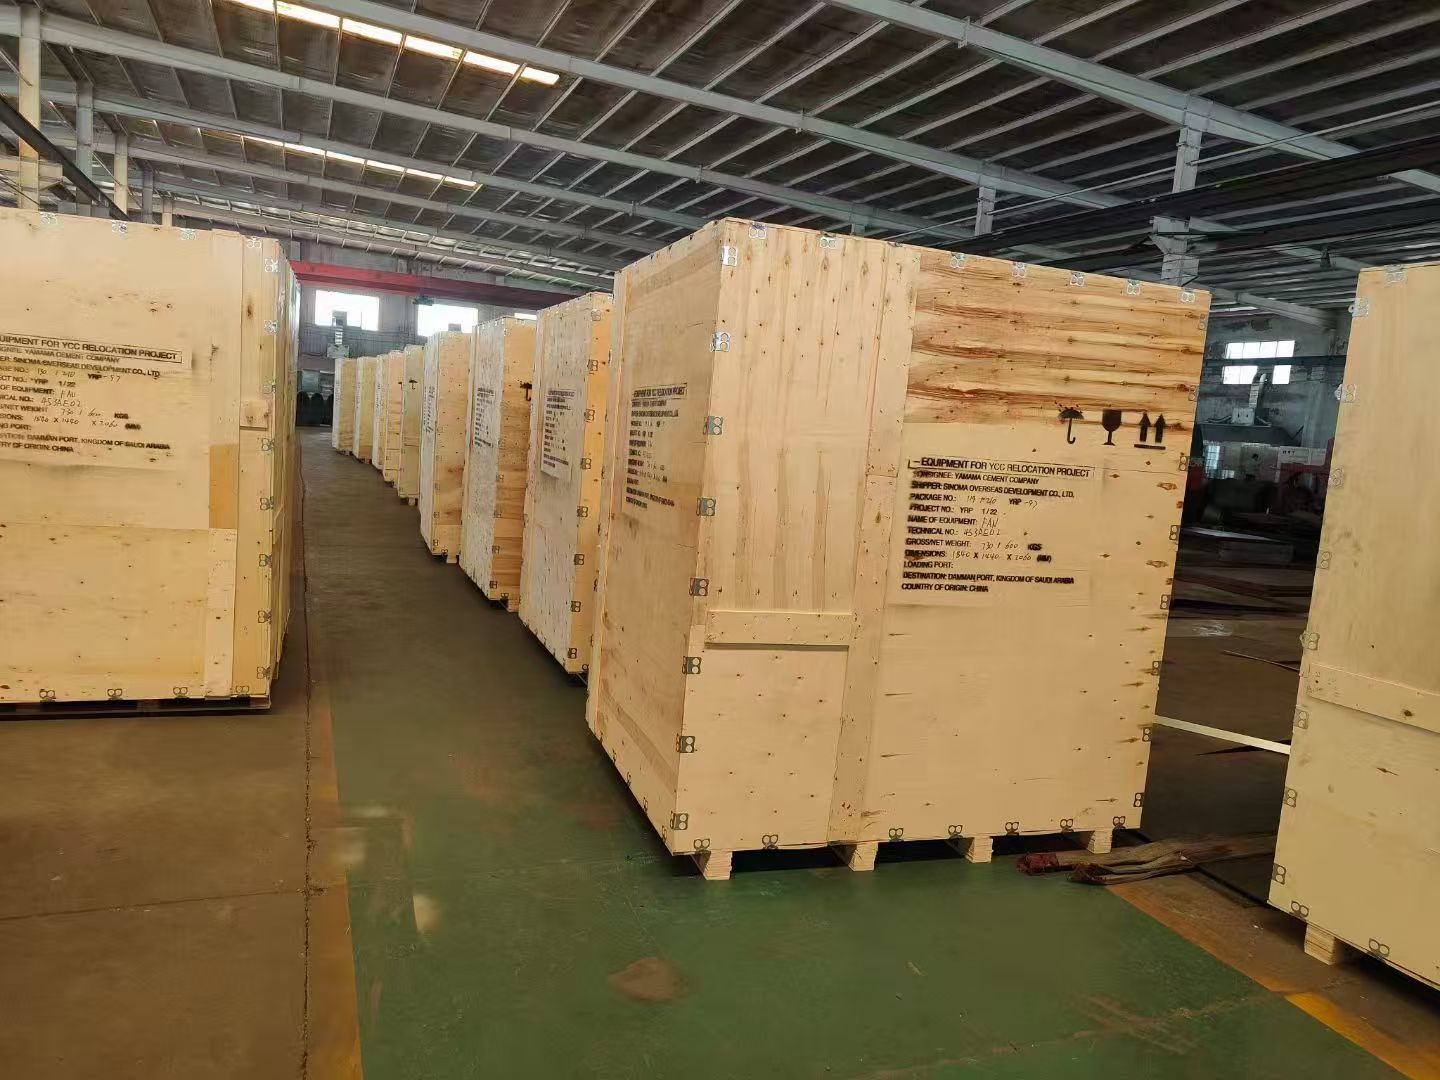
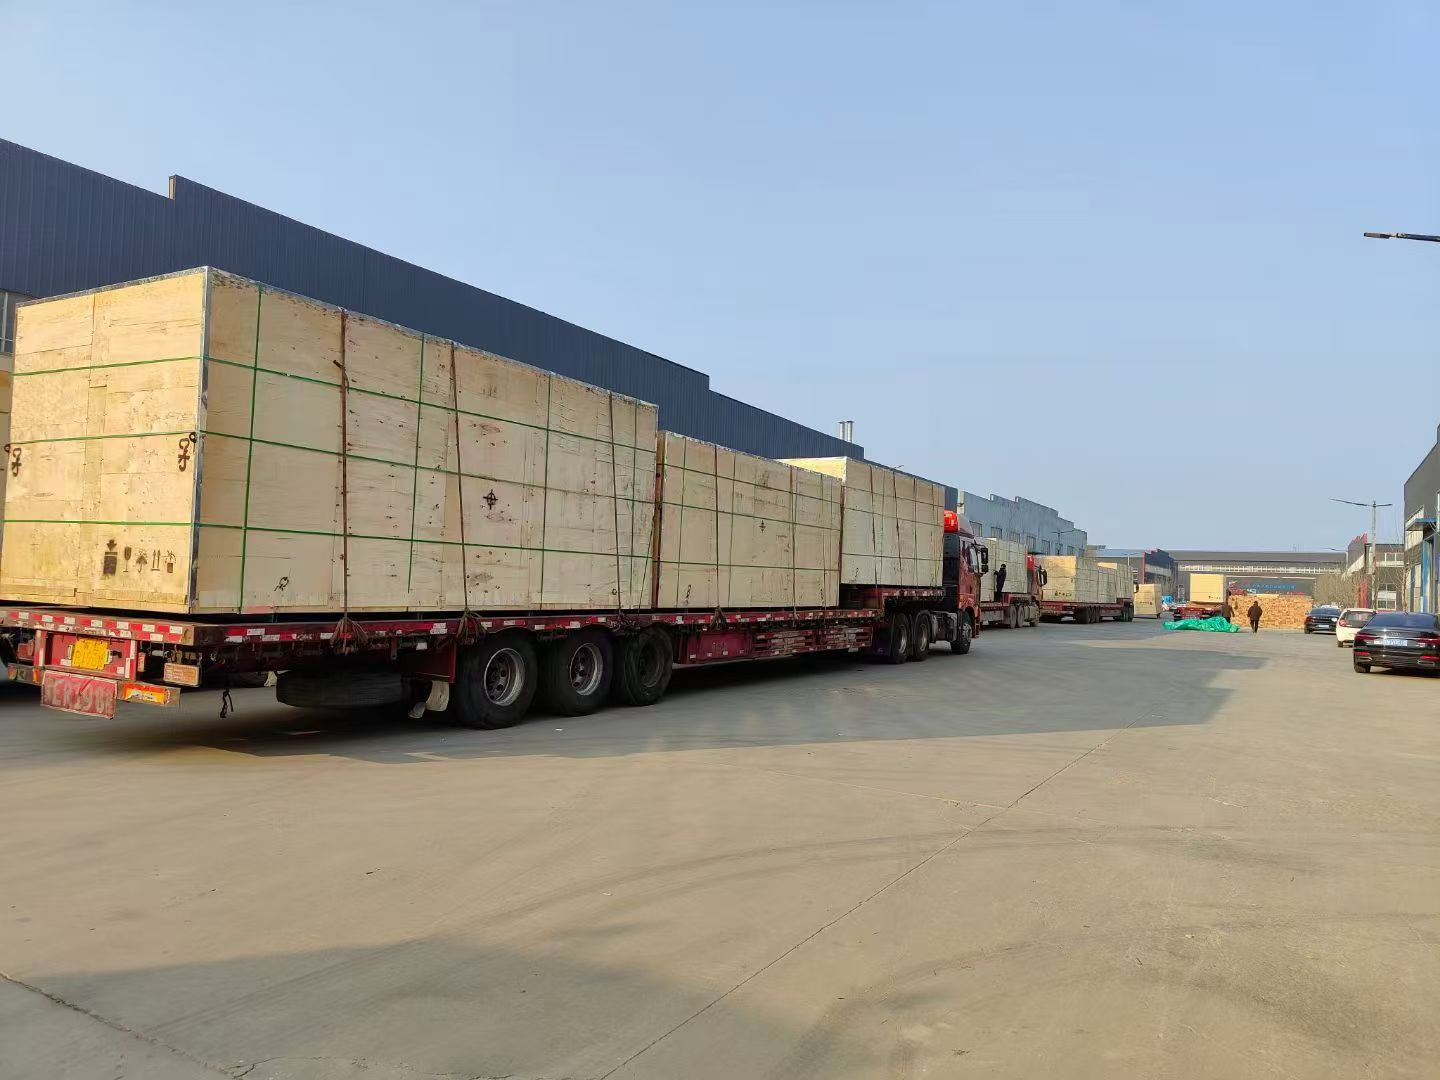
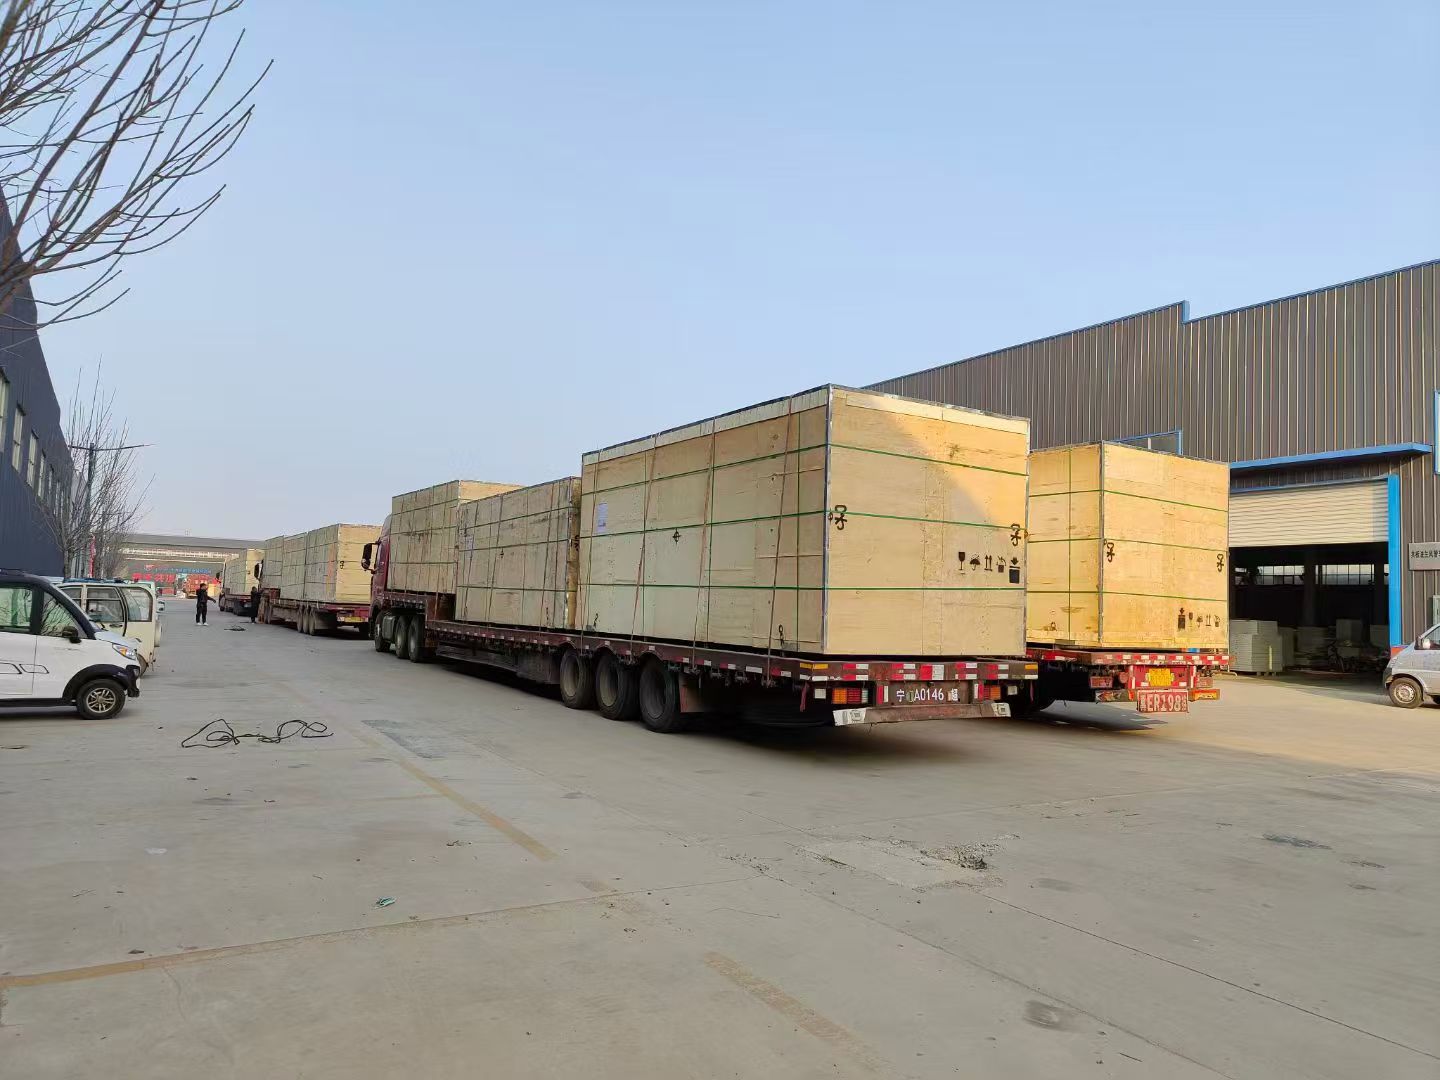
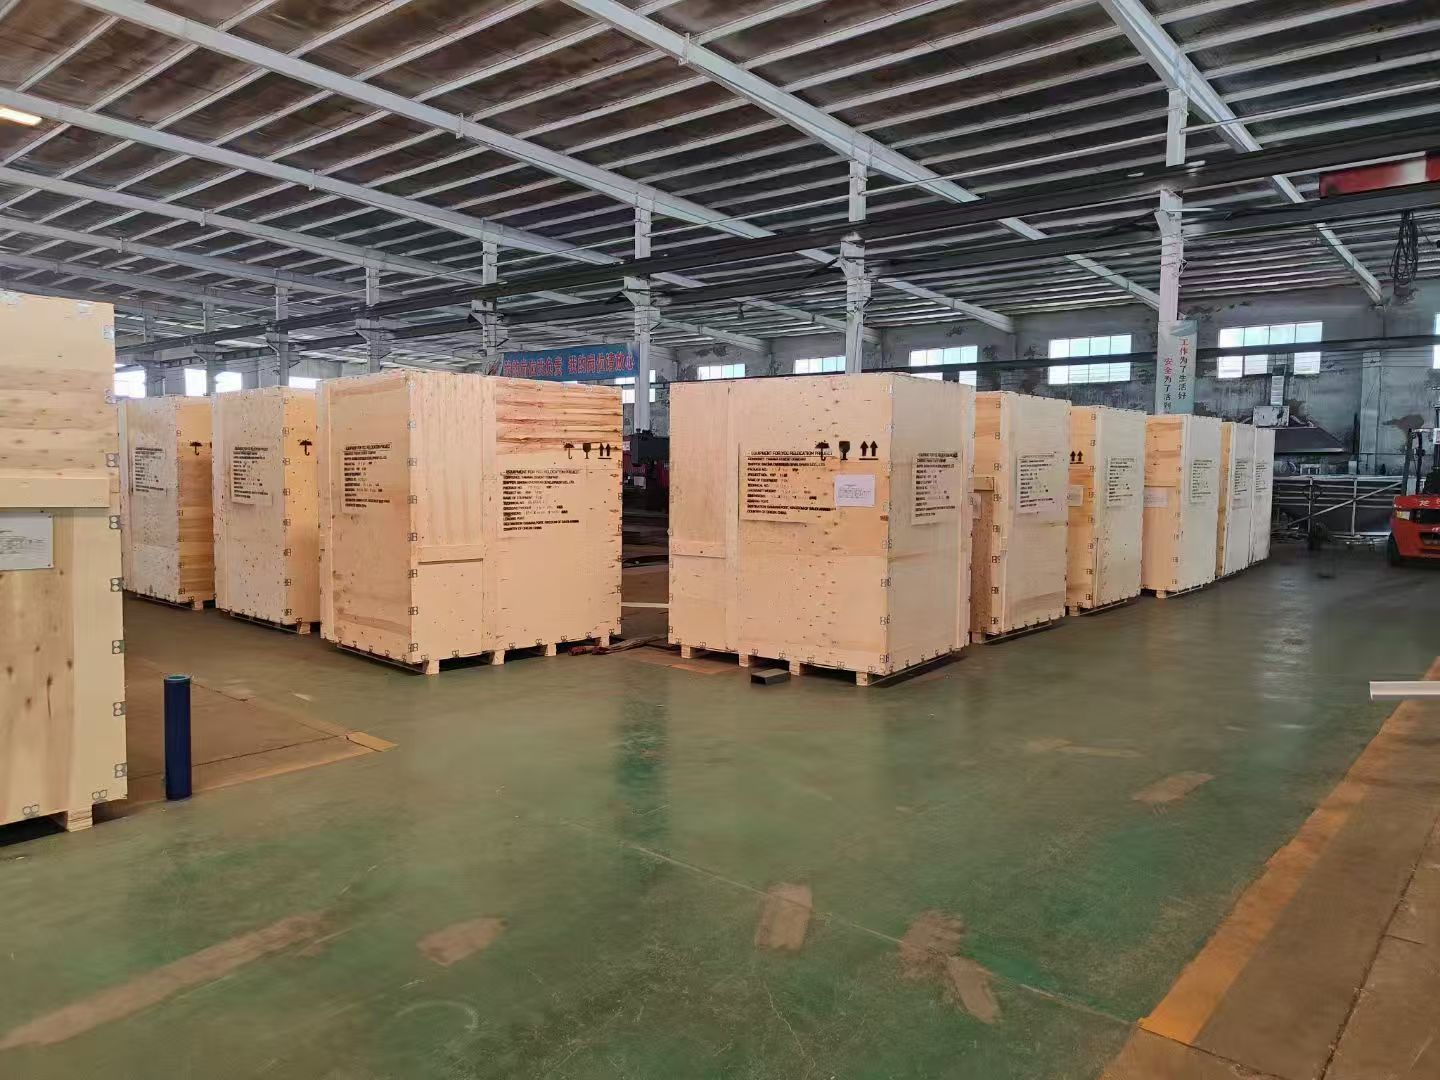
Factory Display
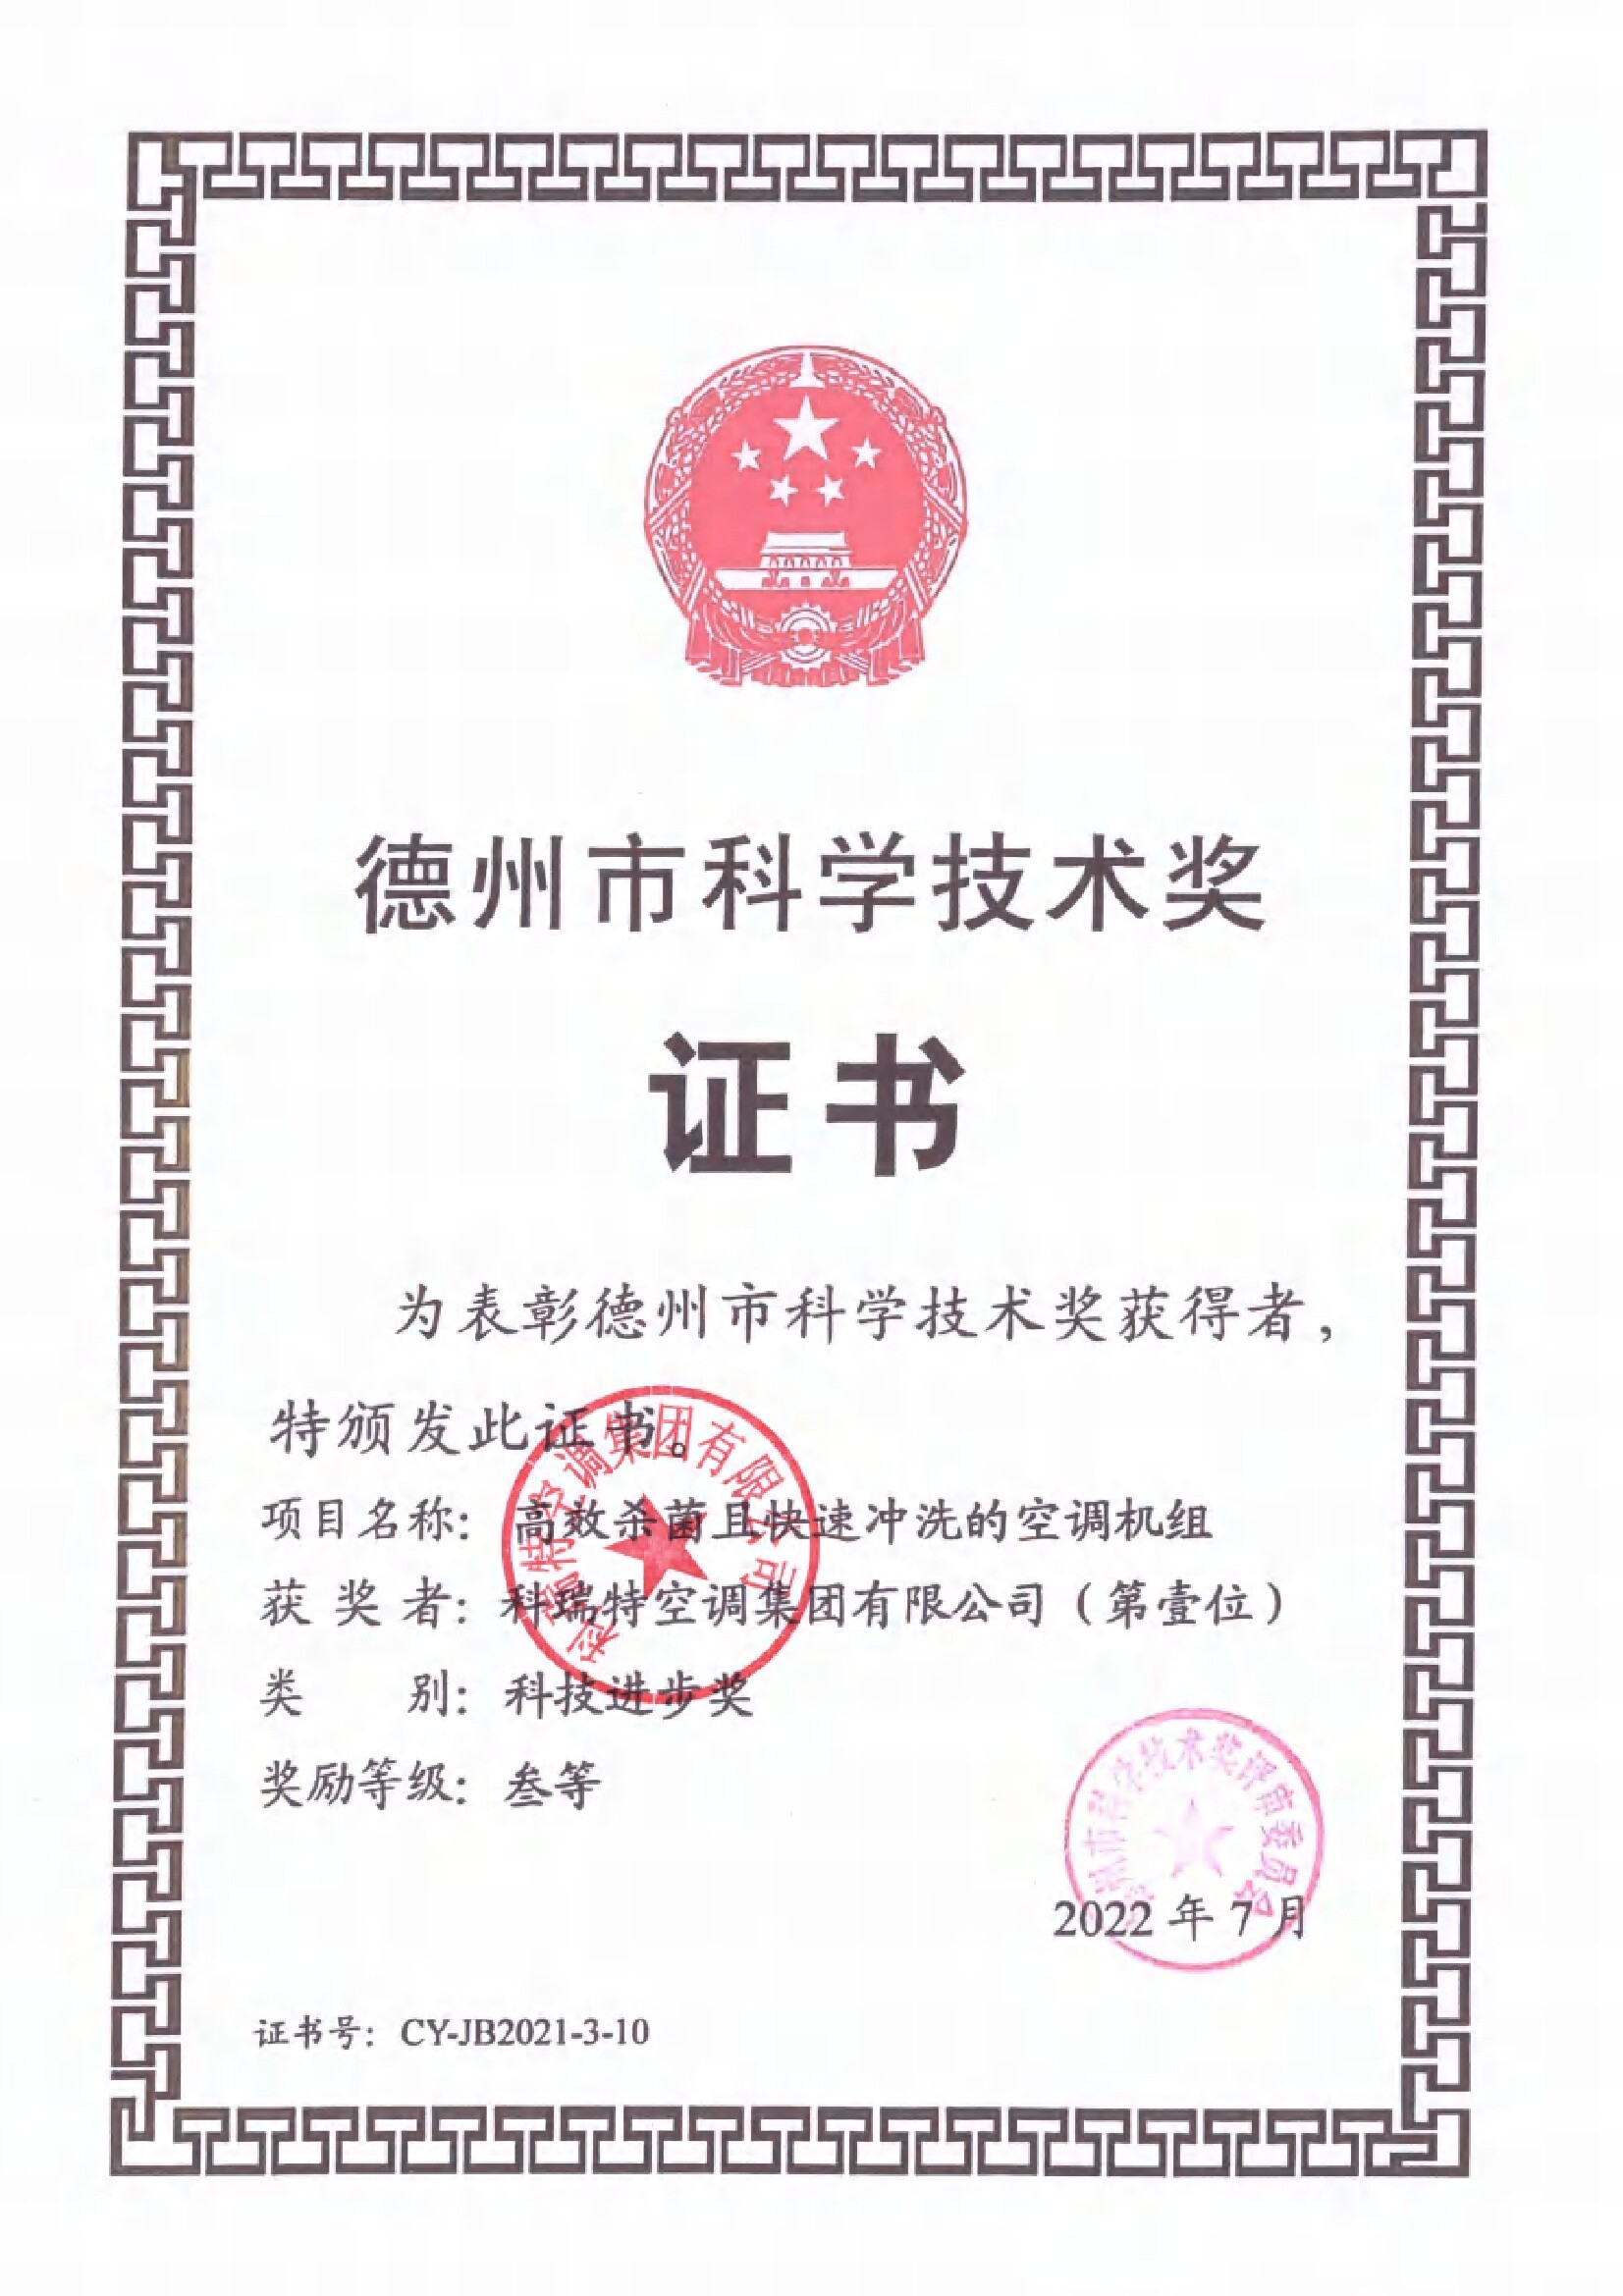
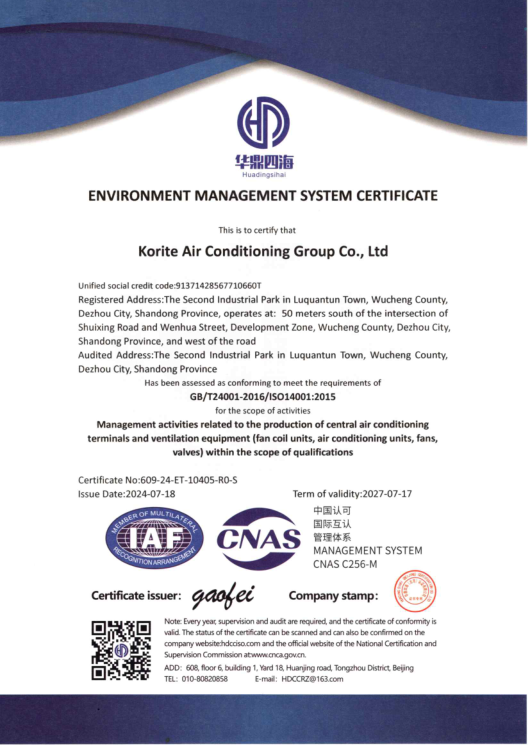
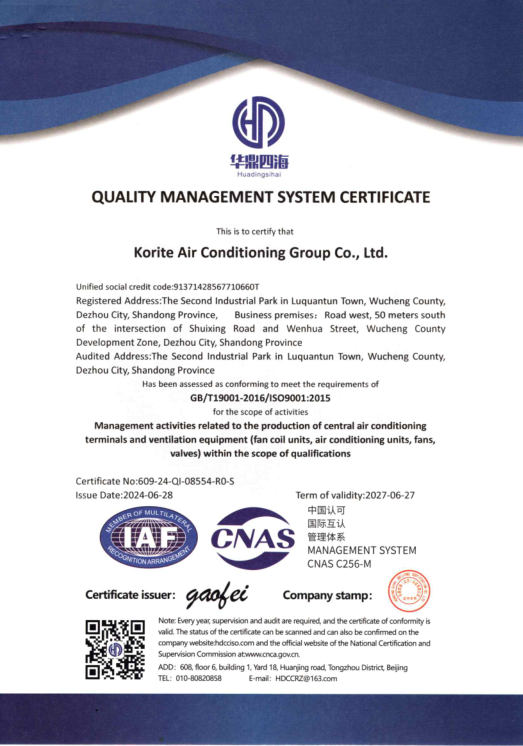
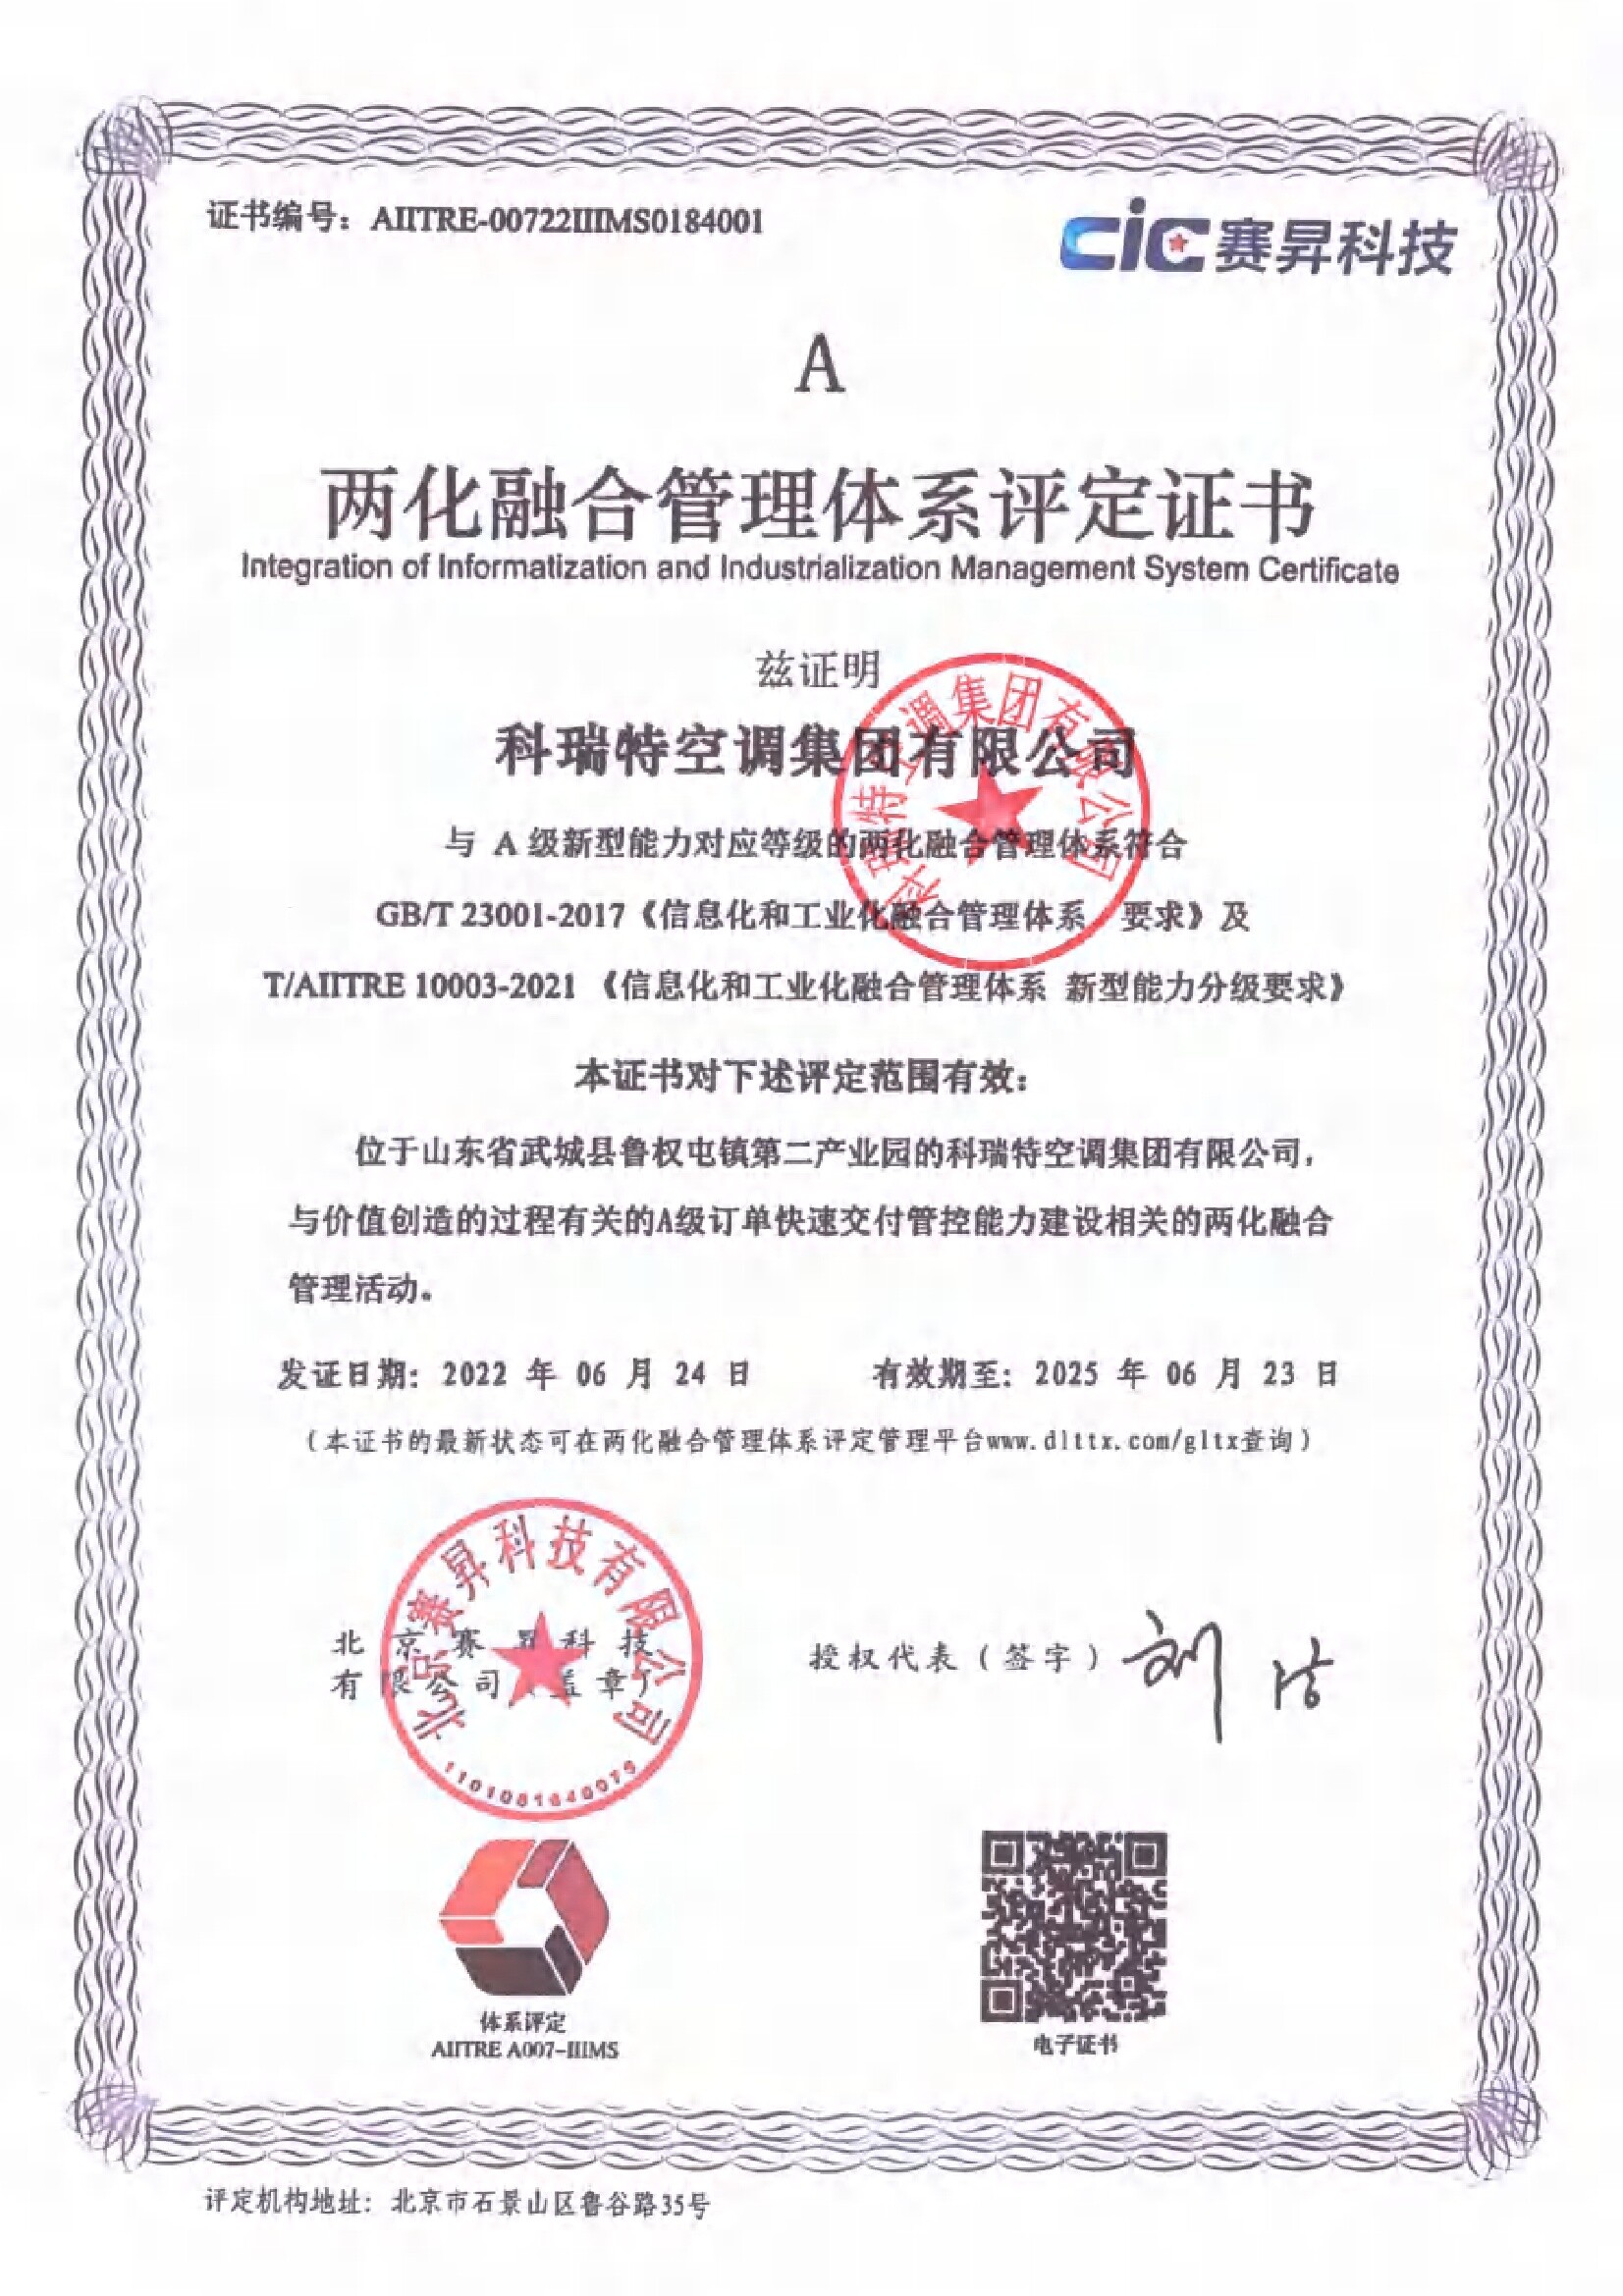
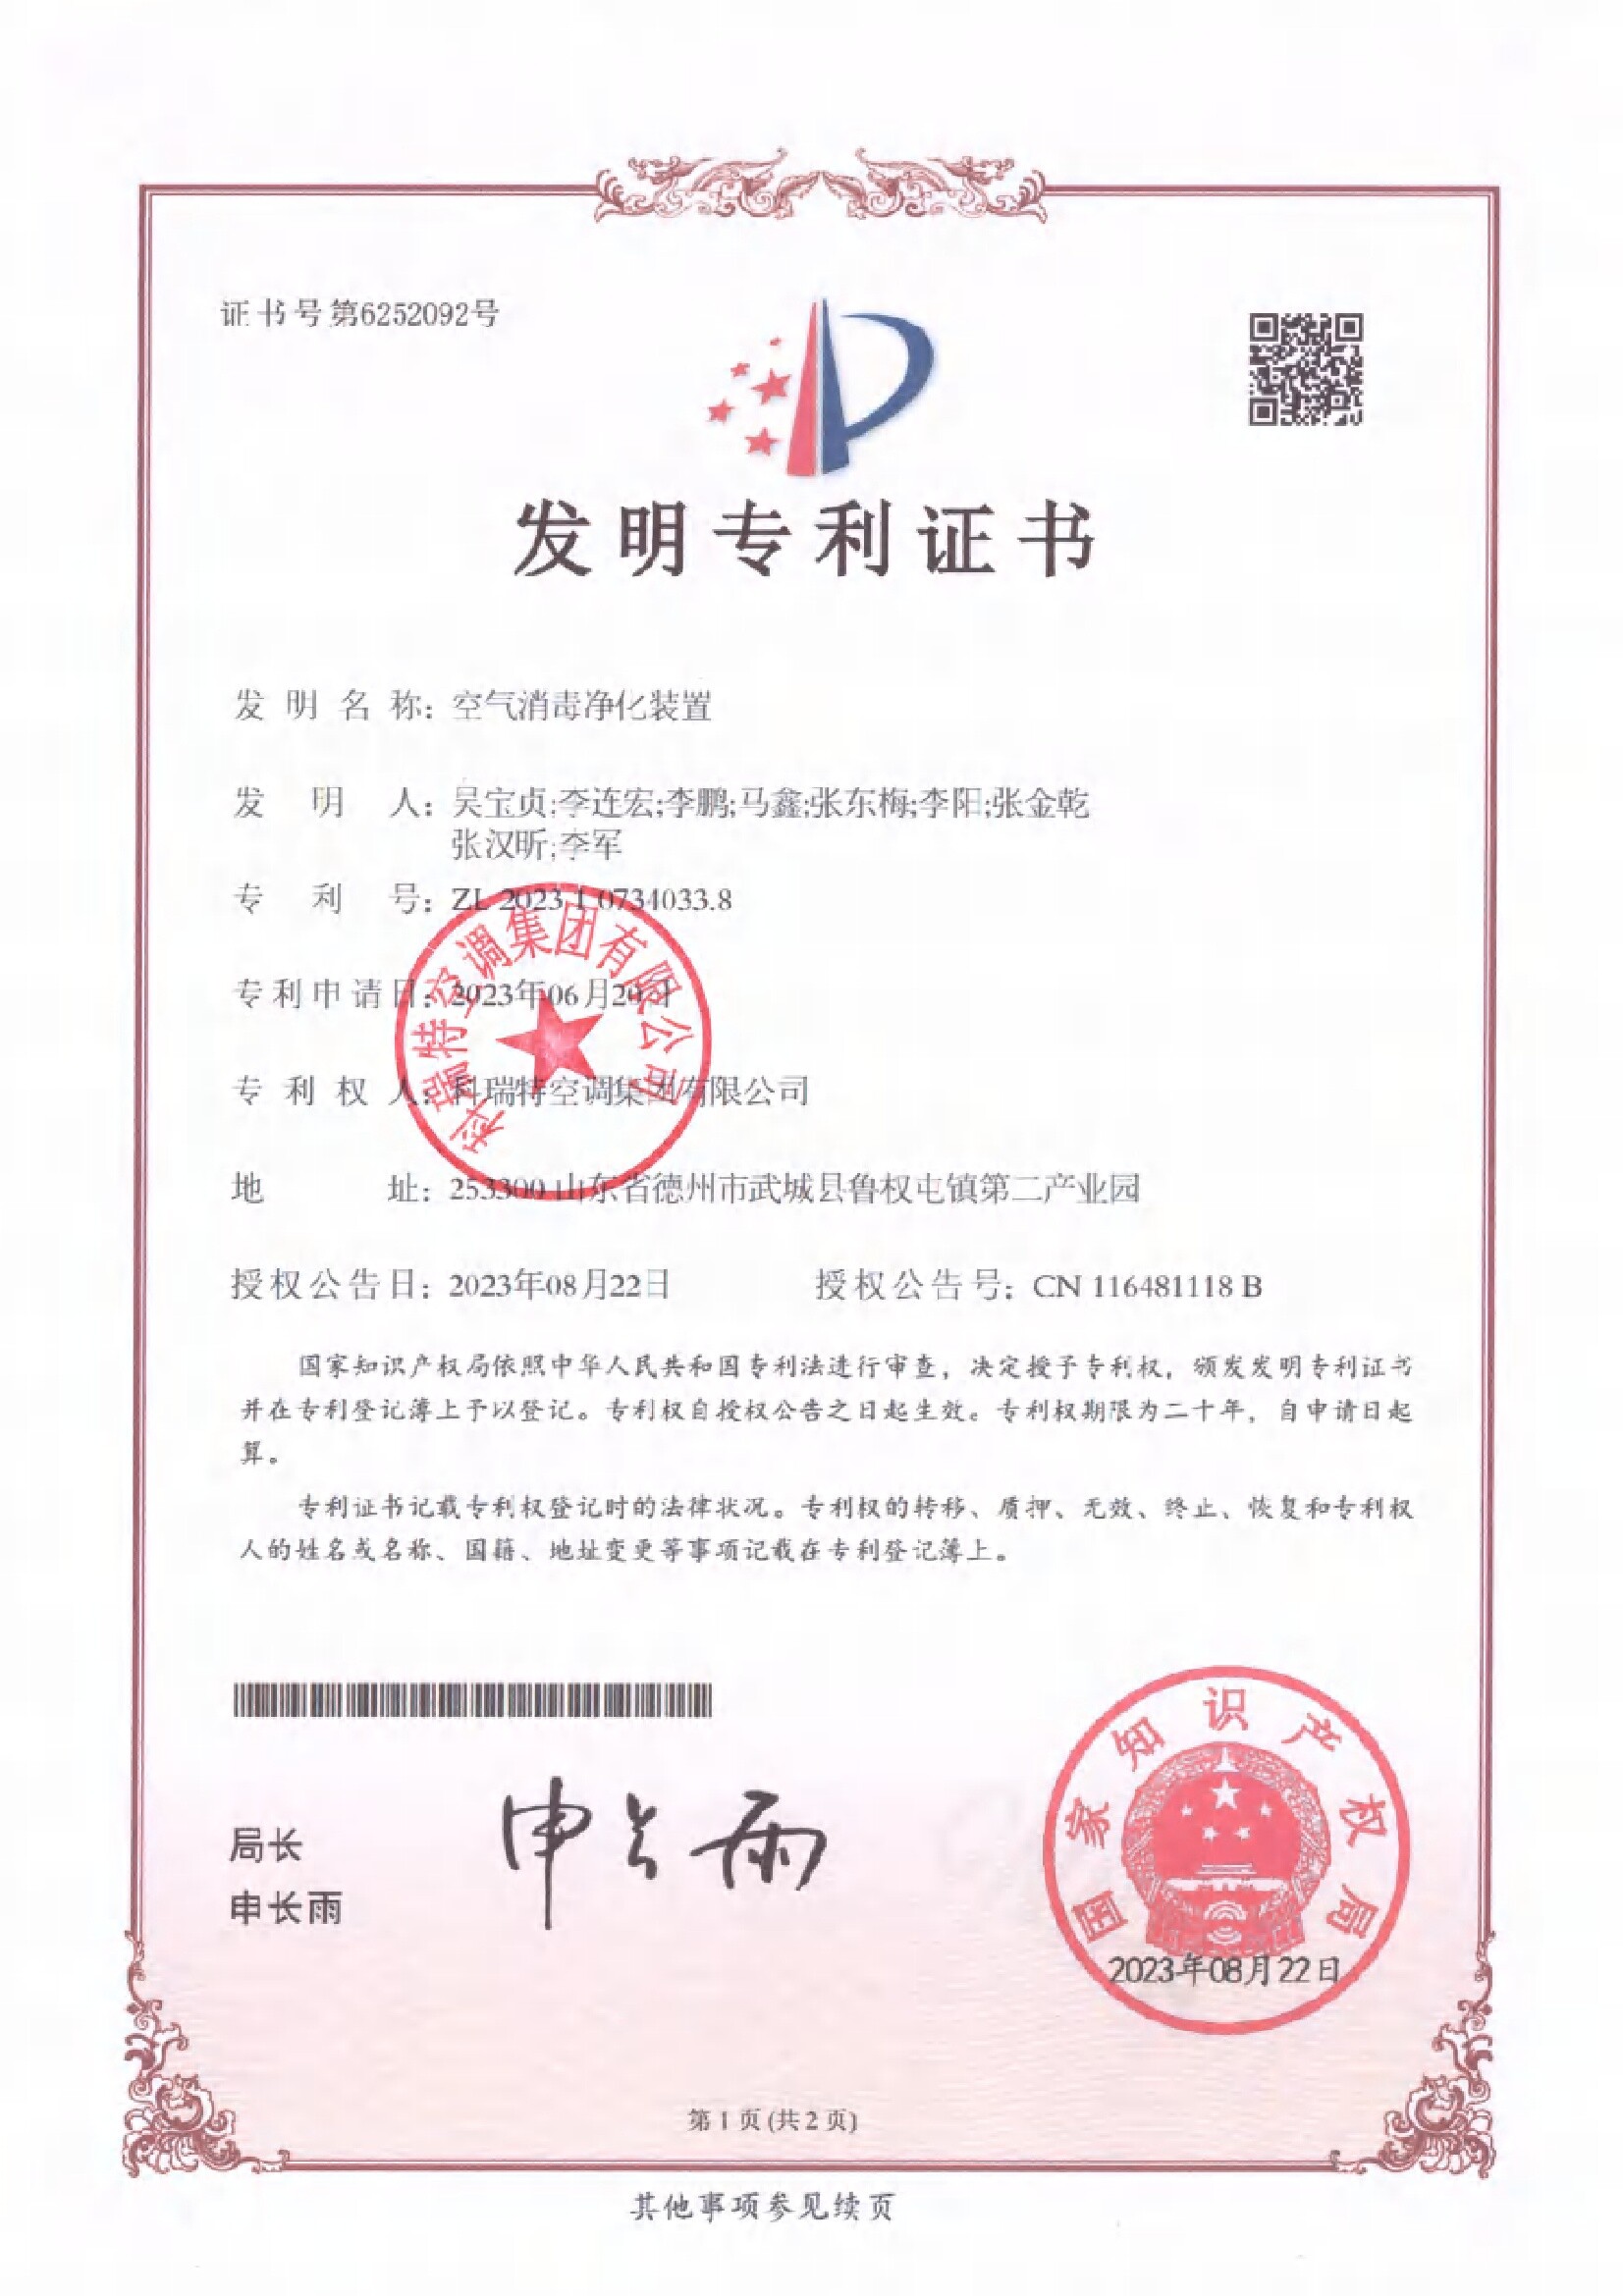
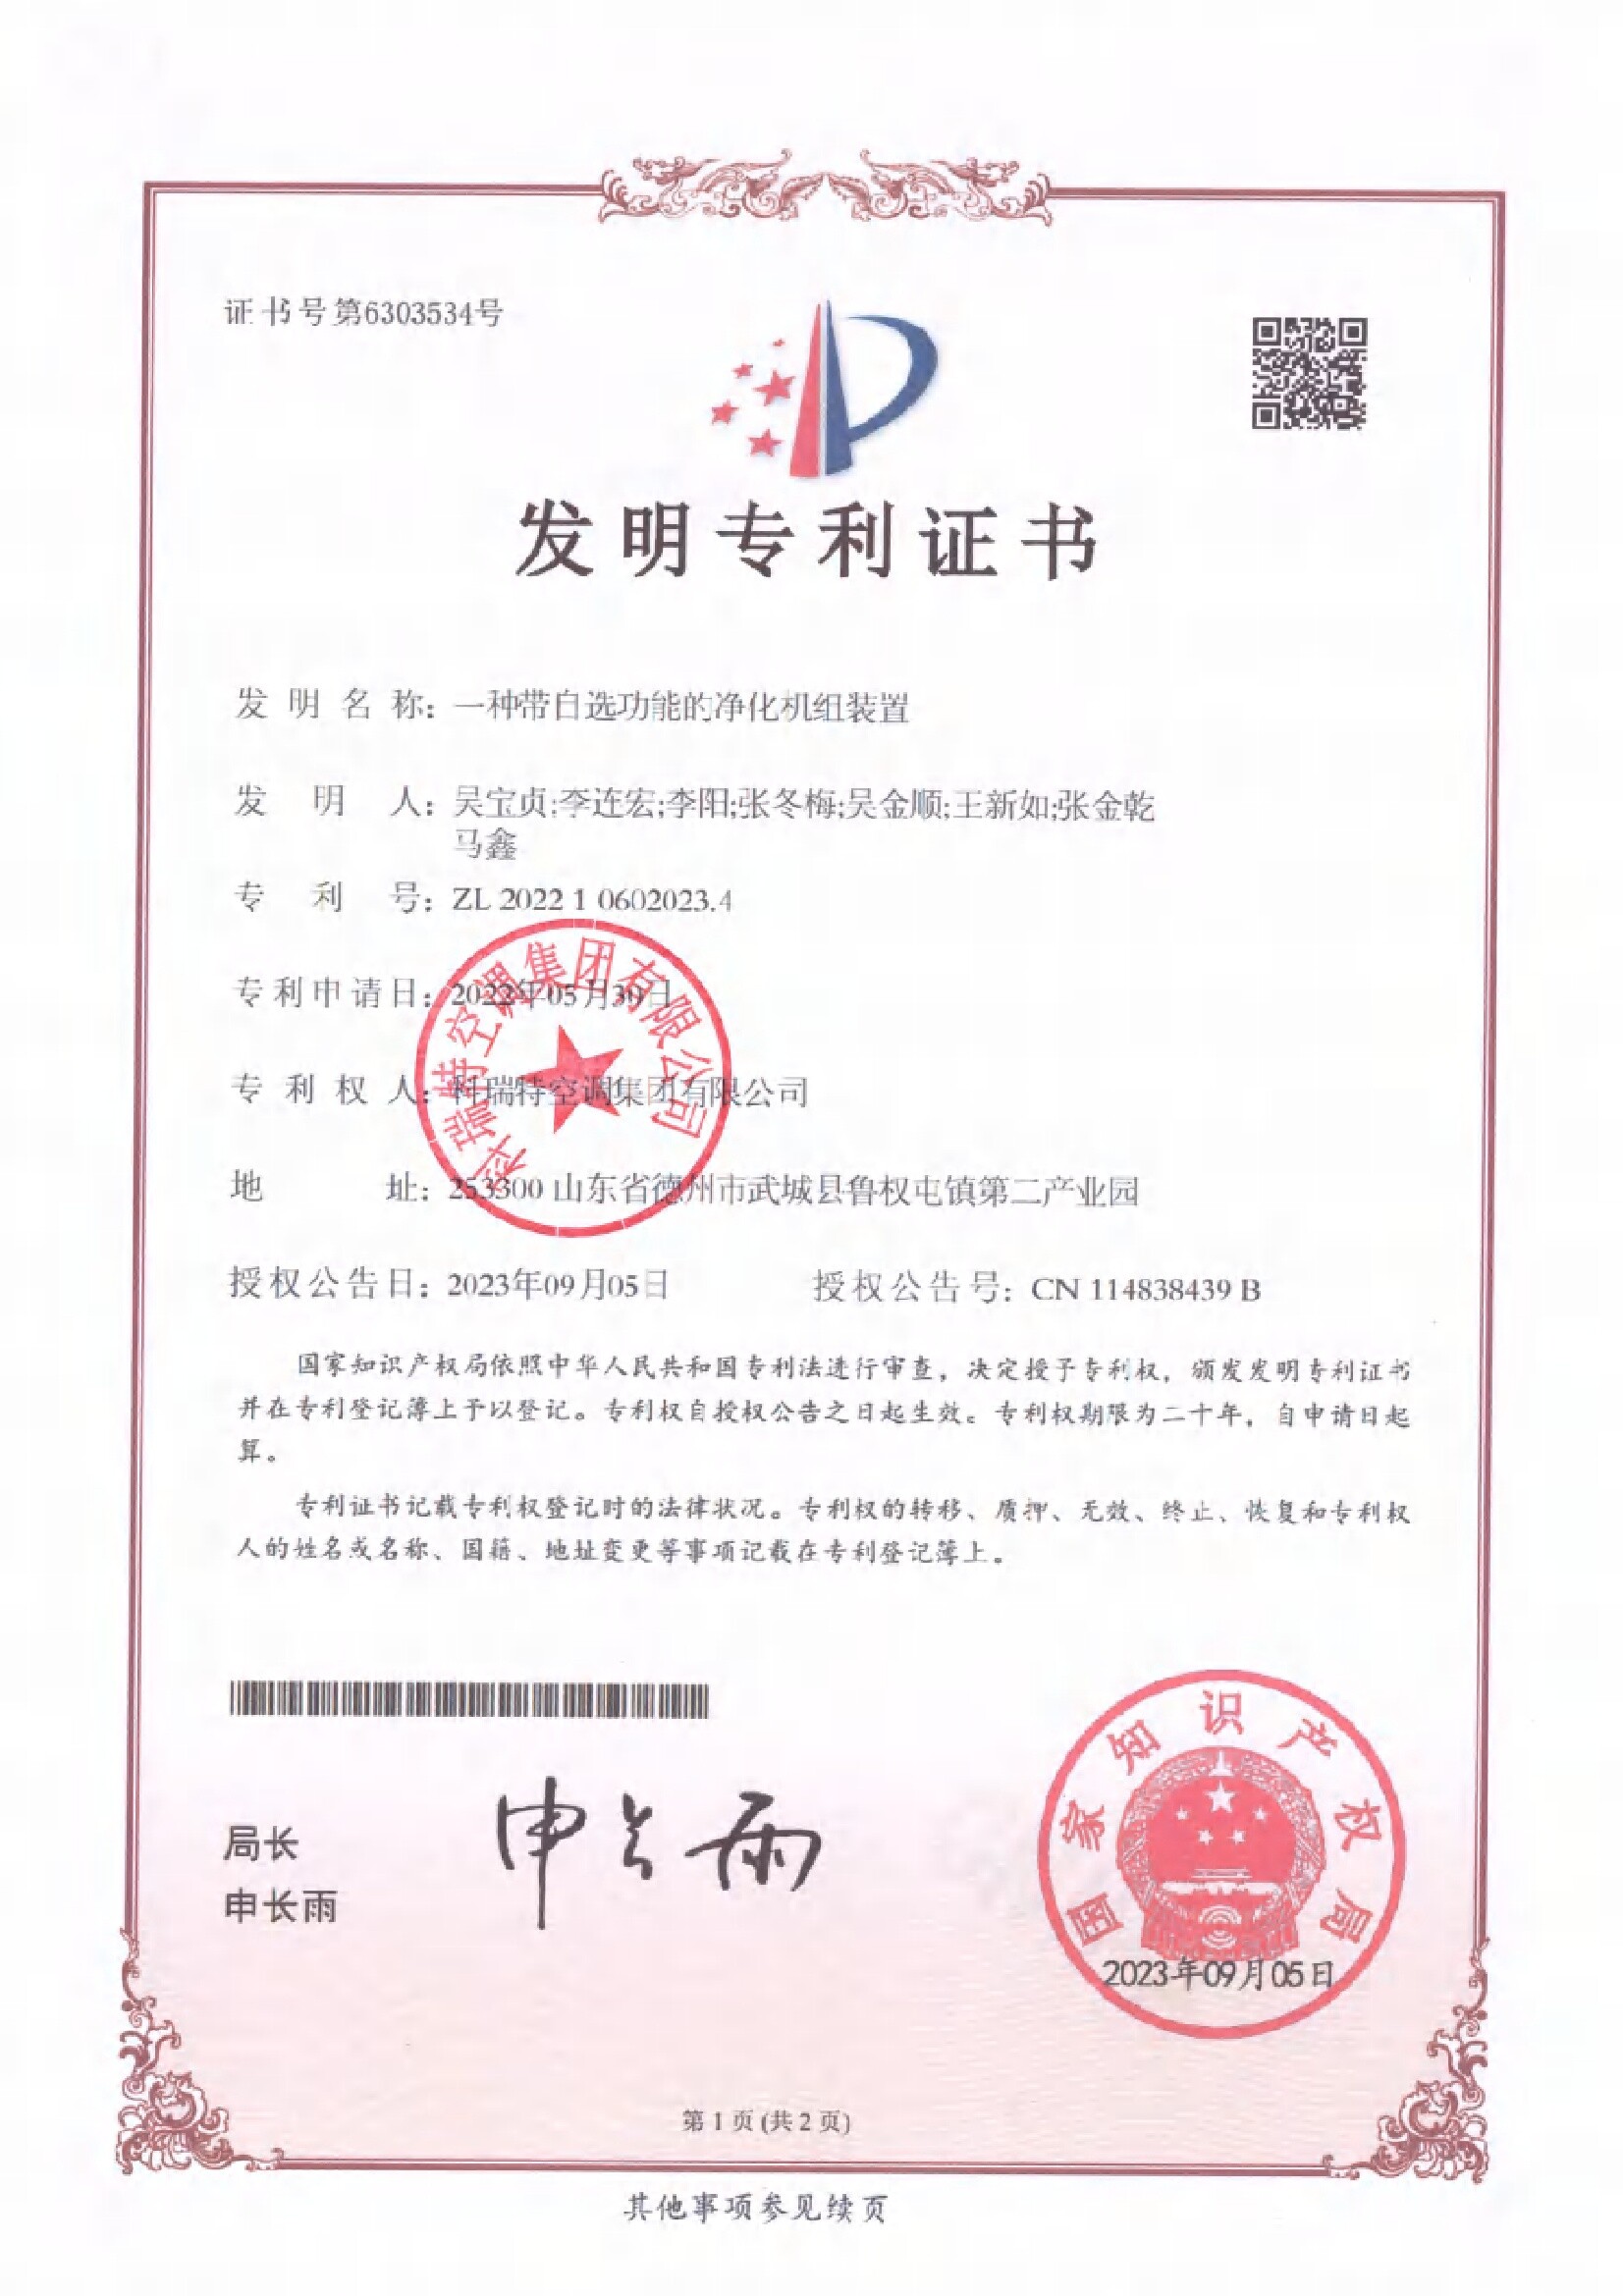
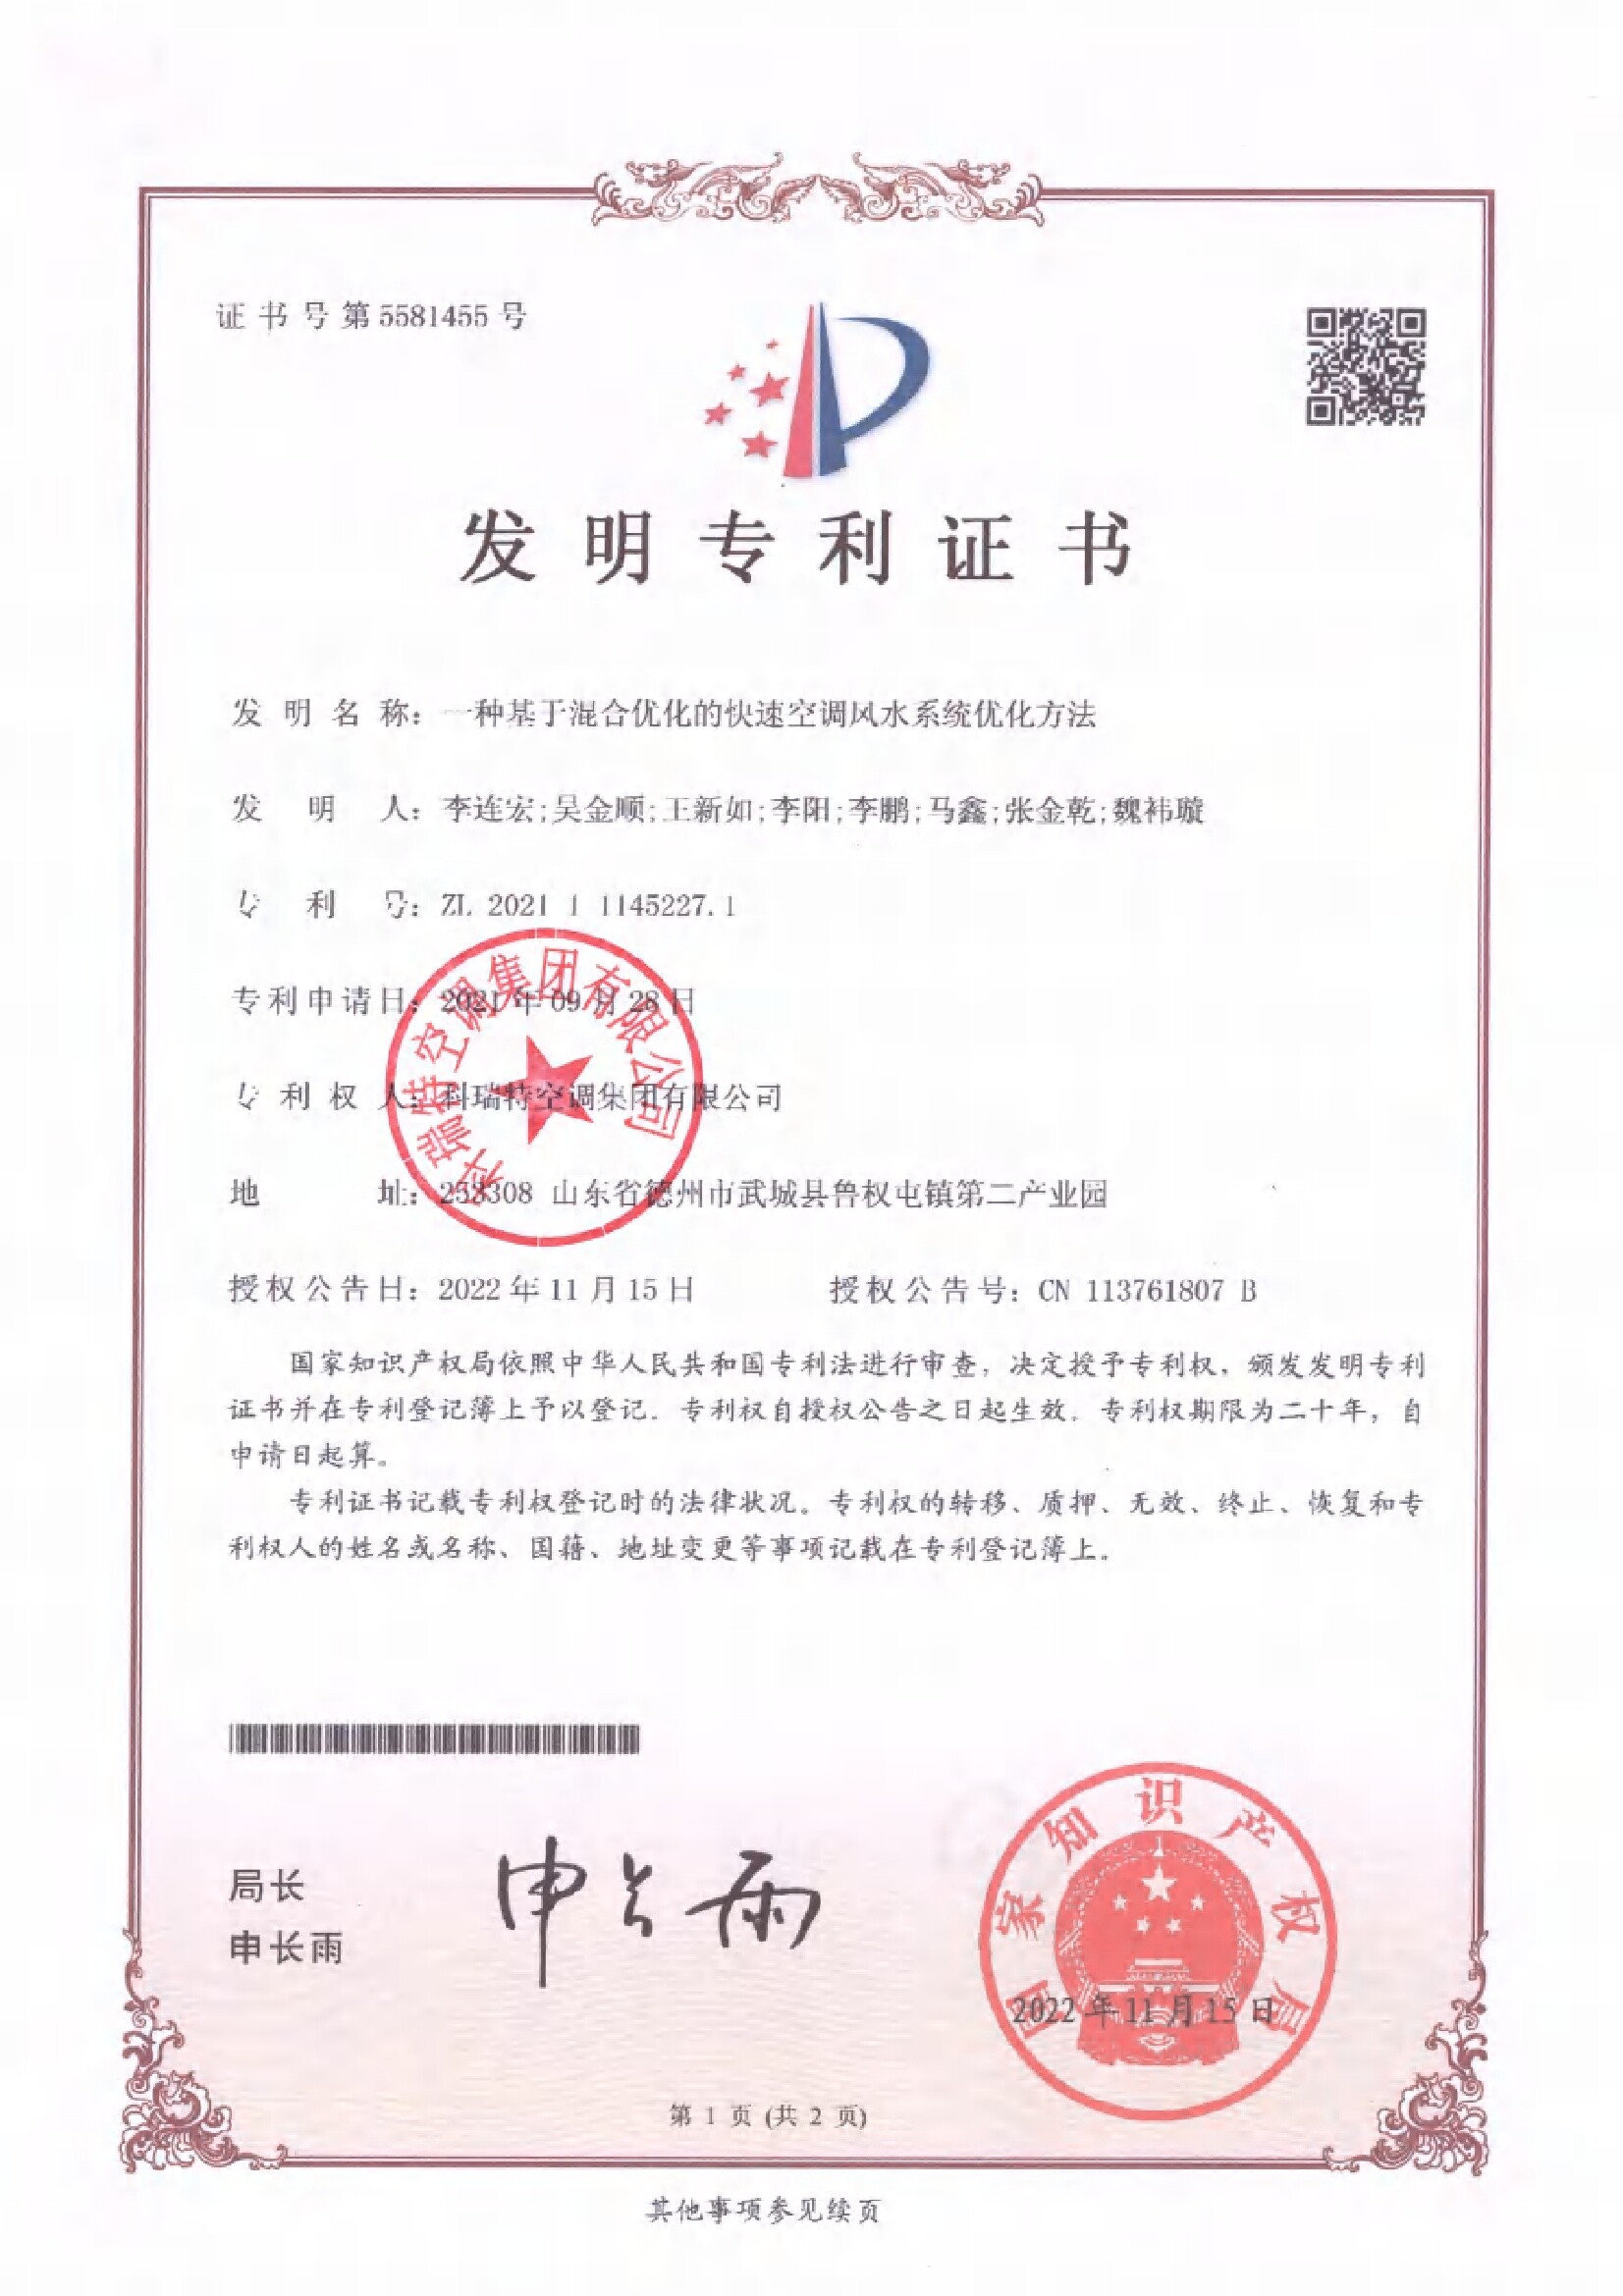
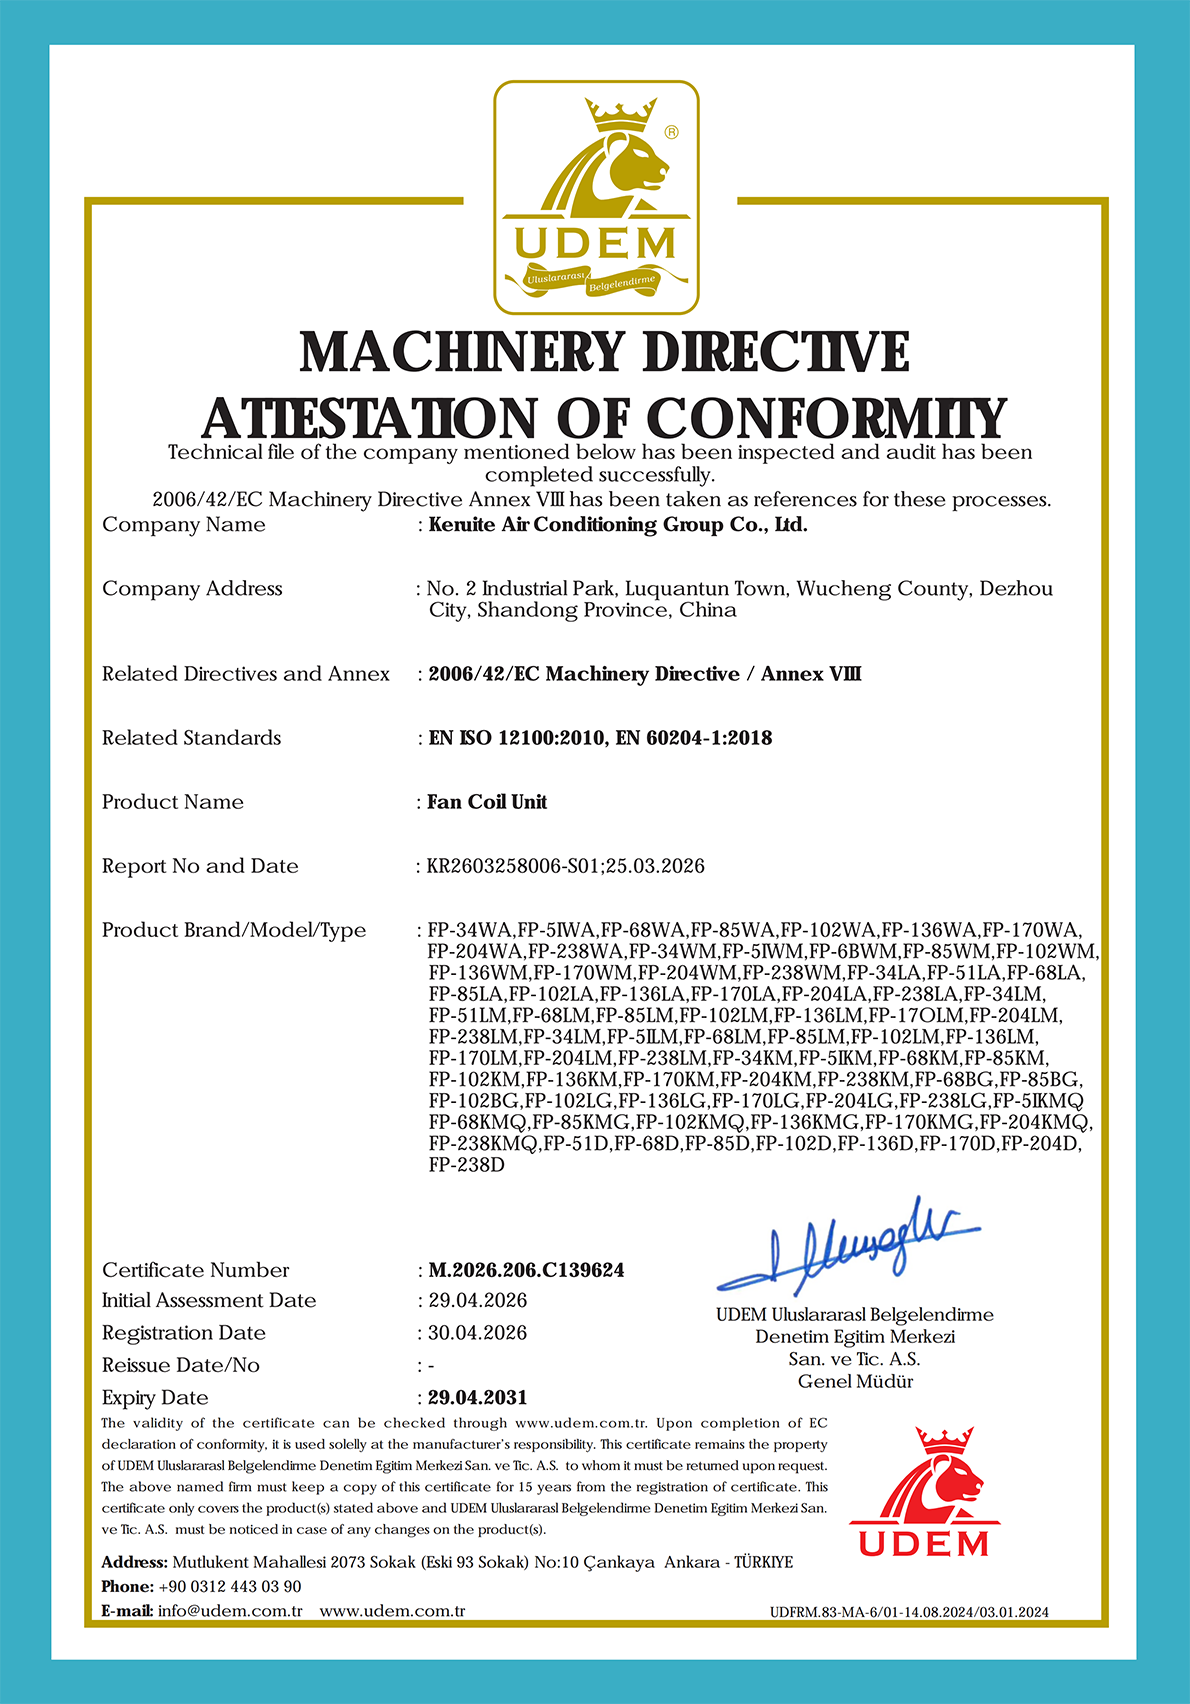
Qualification Certificate


Contact Us
Product recommendation


Leave A Message
If you are interested in our products and want to know more details, please leave a message here, we will reply you as soon as we can.